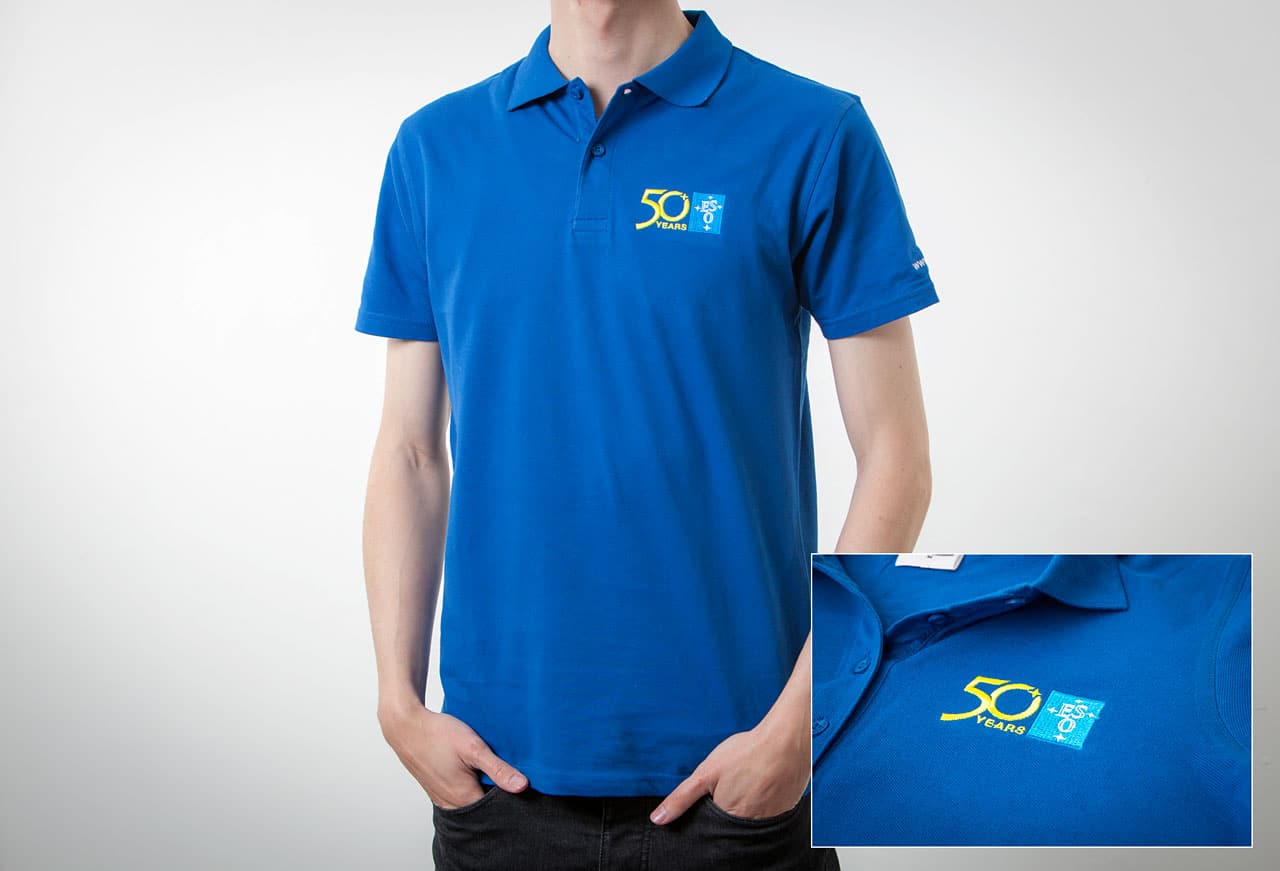
Embroidery on shirts is a timeless art form that adds sophistication, elegance, and a touch of personalization to garments. From intricate logos to delicate embellishments, embroidered designs elevate shirts from ordinary to extraordinary. In this comprehensive guide, custom embroidery Dallas TX explore the intricate process of embroidery on shirts, from design selection to finished product, shedding light on the techniques, tools, and considerations involved in this ancient craft.
1. Design Selection and Digitization:
The journey of embroidery on shirts begins with the selection of a design. Whether it’s a company logo, personal monogram, or intricate artwork, the design serves as the blueprint for the embroidery process. Once the design is chosen, it undergoes digitization, where it is converted into a digital file format compatible with embroidery machines. This process involves breaking down the design into individual stitches and assigning colors and stitch types to each element.
2. Fabric and Stabilizer Selection:
Choosing the right fabric and stabilizer is crucial for successful embroidery on shirts. The fabric should be sturdy enough to support the weight of the embroidery and withstand repeated washing and wearing. Common fabrics used for embroidered shirts include cotton, polyester, and blends. Additionally, a stabilizer is used to reinforce the fabric during the embroidery process, preventing puckering or stretching. The type of stabilizer selected depends on the fabric and design complexity.
3. Hooping and Placement:
Once the fabric and stabilizer are selected, the shirt is hooped in preparation for embroidery. Hooping involves stretching the fabric taut over an embroidery hoop, securing it in place with clips or clamps. Proper hooping ensures that the fabric remains flat and stable during the embroidery process. Additionally, the design placement is carefully marked on the shirt to ensure accurate positioning.
4. Thread and Needle Selection:
Choosing the right thread and needle is essential for achieving optimal results in embroidery on shirts. Embroidery threads come in a variety of colors, weights, and compositions, each offering unique characteristics and effects. Threads made of polyester and rayon are common options because of their long lifespan and vivid colour palettes. Additionally, the needle size and type are selected based on the fabric and design complexity, ensuring smooth stitching and minimal fabric distortion.
5. Machine Setup and Stitching:
With the fabric hooped and the thread and needle selected, the embroidery machine is set up for stitching. The digitized design is loaded into the machine’s software, and any necessary adjustments are made to the stitch settings, such as stitch length, density, and tension. The machine then begins stitching the design onto the shirt, following the path defined in the digital file. Throughout the stitching process, the machine automatically trims thread tails, changes colors, and adjusts tension as needed.
6. Finishing Touches and Quality Control:
Once the embroidery is complete, the shirt undergoes finishing touches and quality control checks to ensure a flawless finish. Any excess stabilizer is trimmed away, and loose threads are snipped. The embroidered area is inspected for stitch consistency, thread tension, and overall quality. Any imperfections are corrected before the shirt is deemed ready for packaging and delivery.
7. Conclusion:
Embroidery on shirts is a meticulous craft that requires skill, precision, and attention to detail. From design selection to finished product, each step in the embroidery process contributes to the creation of a beautifully embellished garment. Whether it’s a custom logo on corporate shirts or a delicate monogram on a bridal blouse, embroidered shirts add a touch of elegance and sophistication to any wardrobe. With its timeless appeal and endless creative possibilities, embroidery continues to be a cherished art form for garment decoration.